header-t
header-l  end
 Intro
 Step 1
 Step 2
 Step 3
 Step 4
 Step 5
 Step 6
 end
v-line

Conclusion.

Now 
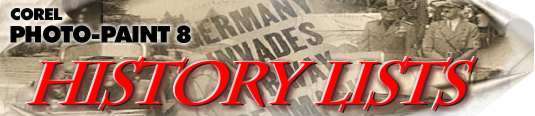
that you are aware of the power of the Photo-Paint History List it is an easy matter to create your own powerful images via simple scripting.

In addition, the technique presented here to add text containing a floating image can be easily modified, even after the script is run. To alter the text simply ungroup the text/shadow combination, delete the shadow, edit the text, then recreate the shadow.

Now it's your turn. Remember: "Creativity is the Mother of Invention". So try lots of different things. It is relatively simple to turn the floating text into a 3D or cutout type effect. Another nice effect can be created by adding a transparency pattern to the uppermost layer.

Good Luck.

See you next time.

Copyright Notice.

This material is copyright © 1998, 1999, Visionary Voyager Corporation and David Mutch Ph.D. This tutorial is for personal use only. It may be printed out or copied to the users hard disk drive to facilitate ease of use. It cannot be reprinted or reproduced for distribution by others without permission. The tutorial or parts thereof cannot be used in isolation or as part of another publication. If printed for personal use, this copyright notice must be remain intact along with the article.

PREV

prev next

HOME

[Intro] [Step 1] [Step 2] [Step 3] [Step 4] [Step 5] [Step 6] [end]

All material, text, graphics and design on this site is Copyright © 1998, Visionary Voyager and David Mutch. Permission may be granted for reproduction by emailing me

netscape_now_anim
BuiltByNOF
vv-newani
return