| Introduction | ||||
| Charcoal | ||||
| Conté Crayon | ||||
| Crayon | ||||
| Cubist | ||||
| Dabble | ||||
| Impressionist | ||||
| Palette Knife | ||||
| Pastels | ||||
| Pen and Ink | ||||
| Pointillist | ||||
| Scraperboard | ||||
| Sketch Pad | ||||
| Watercolour | ||||
| Water Marker | ||||
| Wave Paper | ||||
4. Cubist
The Cubist art stroke groups similarly coloured pixels into squares to produce an image that resembles a cubist painting. You can specify the square size, the amount of light, and the paper colour.
Cubist seems to work best on larger images with fewer objects
and low complexity, due mainly to the visual 'chaos' it creates
using rather large brush strokes. Fine detail within images is generally lost
using this effect, making finely detailed photographs difficult to interpret
after its use. But on images with fewer, larger foreground objects and little
or no background, then effect it produces can be quite stunning.
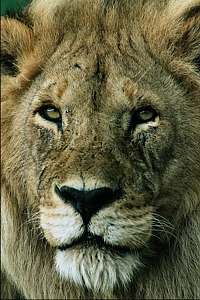
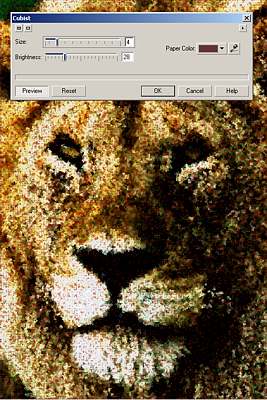
1. Open up a suitable image. In the example here I have used image 865067.WI from the photos/Ani_King folder of CD#3 from CorelDRAW suite 9. (Fig 1)
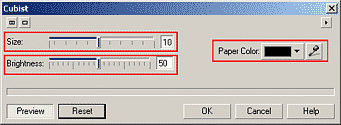
2. Open the Cubist dialogue box (Effects > Art Strokes > Cubist). There are three simple parameters: Size, Brightness and Paper Colour. Fig 2)
Click the Reset button to display the default settings. (Fig 3).
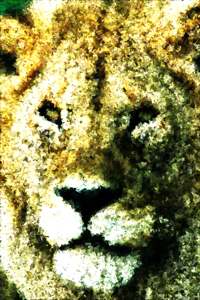
3. Using the default settings to start with, explore how the Size parameter changes the effect. A smaller size value certainly makes the image easier to distinguish while larger values increase the size of the cubist brush stroke, making for a more powerful effect. (Fig 4).

4. Returning to the default settings, now explore how the Brightness setting affects the result. As expected, increasing the Brightness setting increases the brightness of the whole image. It also appears to reduce the size of underlying paper coloured areas, regardless of the paper colour used. (Fig 5)

5. The Paper Colour setting can also affect the appearance of the entire image. Reset the values back to the default and try changing the paper colour to view the effect. (Fig 6)

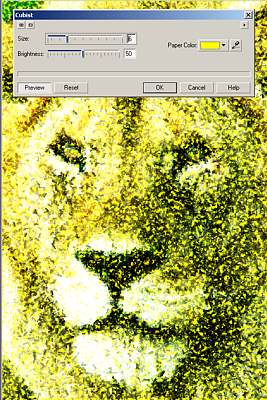
6. However all of the parameters are inter-related, and changing any one of them affects the others. For instance, decreasing the Size value allows more (and smaller) pieces of the paper to show through, which is more readily seen using a contrasting paper colour. Try using various combinations like those show here (Figs 7 and 8).
 |
 |
7. The use of Masks in combination with any of the Art Strokes can help make some very interesting effects. The first example shown here used square and rhomboidal shaped masks while the second used a winding mask brush stroke. (Figs 9 and 10)
| Fig 9. | 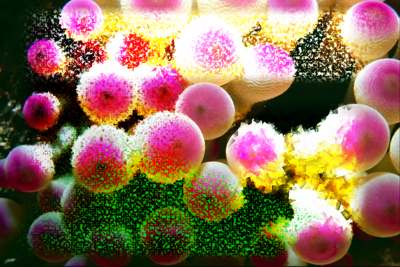 |
|
| Fig 10. | 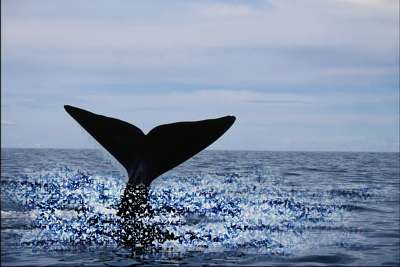 |
| « Prev | || | || | Next » |
| - More Tutorials - | - Contact Me - | |
| - Copyright © 2003 David Mutch & Visionary Voyager Corporation P/L - |