| Introduction | ||||
| Charcoal | ||||
| Conté Crayon | ||||
| Crayon | ||||
| Cubist | ||||
| Dabble | ||||
| Impressionist | ||||
| Palette Knife | ||||
| Pastels | ||||
| Pen and Ink | ||||
| Pointillist | ||||
| Scraperboard | ||||
| Sketch Pad | ||||
| Watercolour | ||||
| Water Marker | ||||
| Wave Paper | ||||
9. Pen and Ink.
The Pen and Ink Art Stroke makes an image look like a pen-and-ink drawing created with a cross-hatching or stipple technique.
Personally, I think that most of the available settings for this effect are a bit useless as they produce unrecognisable results with most images. For this effect to work well you need to consider your original image carefully. Images with fine details are definitely not the first choice here. So choose images with clear, large, foreground objects and light coloured clear backgrounds and you can then expect reasonably good results. Darker coloured foreground objects also seem to work better than lighter coloured ones. Many would expect a result more like a pencil drawing from this effect, but have no concerns, the Sketch Pad effect described further on does exactly this.
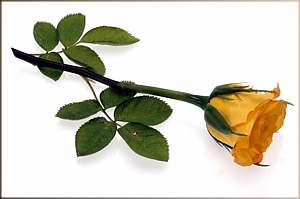
1. Choose you image carefully as noted above. For the example shown here I have chosen image 764059.WI from the PHOTOS/OBJCTVII folder of Corel Draw Suite 8. (Fig 1)
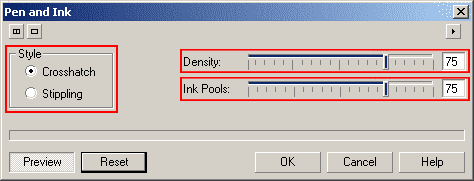
2. Open the Pen and Ink dialogue box (Effects > Srt Strokes > Pen and Ink). It has three controls: Style, Density and Ink Pools. (Fig 2)
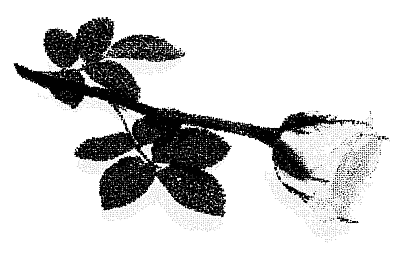
3. Click the Reset button to see the effect at the default settings. As you can see, a great deal of image definition is lost, even at these settings. But the effect can be useful when combined with other effects or the original image as shown later. (Fig 3)

4. Changing the Style from Crosshatch to Stippling at the default settings does improve the image definition somewhat. For this particular image, this style is probably better. (Fig 4).
5. The Density control does just that - change the density of the pen strokes in the image. At lower values, I feel that there are far to few strokes to be of value, but maybe with very large images this may be useful. Higher Density values give much better results on medium and smaller sized images. Fig 5 shows how the density value affects the image when using the Crosshatch style while penink-5b shows how it affects it using the Stippling style.


6. The Ink Pools setting seems a bit strange. Increasing the value of this property seems to increase the stroke density as well as increasing the thickness of the crosshatch strokes or stipples. The result of changing the value of the Ink Pools property is affected by the darker colours within the image (darker colours seem to be affected more). Also, this property seems to be more sensitive when using the Crosshatch style, particularly at the lower values. You probably need to experiment a little with this property for each image you use to for this effect to get just the right appearance you want. (Fig 6).

7. Other Examples.
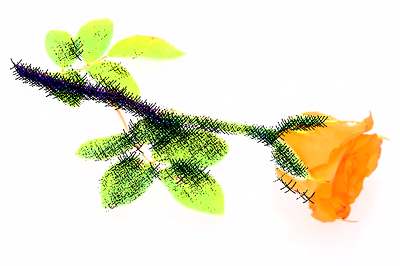
| Fig 7. Use the same image as above and duplicate the original. Apply a Pen and Ink effect, Crosshatch style, density = 41, In Pools = 22. Change the Merge Mode of the duplicate to Lightness. |
 |
|
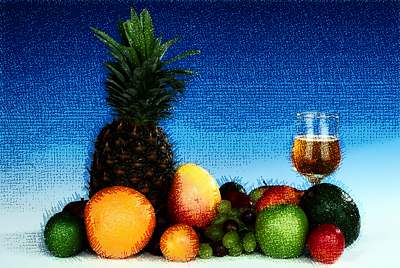
| Fig 8. Similar to the previous image but change the density to 83, the ink pools to 90 and the merge mode to Soft Light. Then reduce the opacity of the upper object to 80% |
 |
| « Prev | || | || | Next » |
| - More Tutorials - | - Contact Me - | |
| - Copyright © 2003 David Mutch & Visionary Voyager Corporation P/L - |