
Creating PICTURE Frames in Corel Photo-Paint, versions 8+
Part 2: Enhancing your Picture Frame.
In this section we will use the basic Picture frame we made in Part 1 and create a classic multi-framed picture.
1.
 |
| Fig 17. |
Start with the result of our basic frame at the end of step 35 in Part A, but without any photos or the multi-photo composition - just the Picture Frame alone.
There should only be only three objects in your object Docker - the background and two Picture frame objects. (Fig 17)
Select the metal frame object and duplicate it ( or CTRL+D).
This new object should now be selected.
 |
| Fig 18. |
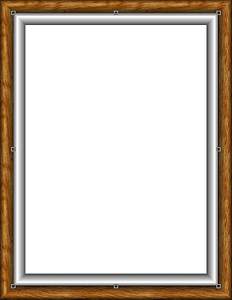
Using the Object Picker Tool in Position and Size mode, hold down the SHIFT key and drag the top left or right corner of the object so that it shrinks in size and so the left and right sides fit neatly inside the inner boundary of the wooden object.
Drag the top and bottom side nodes to expand the height so that these borders also fit neatly just inside the inner top and bottom boundaries of the wooden frame.
Double-click the resized metal frame object to Apply the transformation.
(Fig 18)
Rename this duplicated object “Inner Metal” and change its Merge Mode back to Normal.
2. Embellishing the Inner Frame.
|
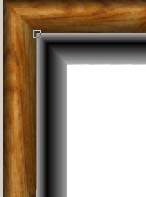
a. Invert the Inner Metal object () (Fig 19) |
 |
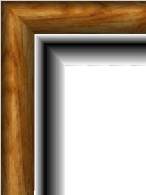 |
b. Auto Equalize () (Fig 20) |
|
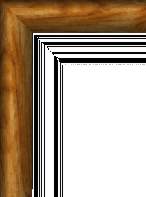
c. Transform the Colour of the object to Bit Planes (). Check the “Apply to All Planes” checkbox the adjust the Red level to 1. Click OK to apply the effect. (Fig 21). |
 |
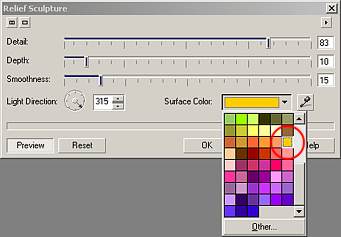 |
d. Apply an ochre Relief Sculpture texture effect (). Click the Reset button on the Relief Sculpture dialogue box then change the colour to ochre (row 11 down in the right hand column of the Surface Color drop down swatch panel, just below the brown swatch. (Fig 22). |
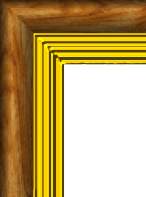
| This is what the Inner Metal Border should look like now. (Fig 23). |
 |
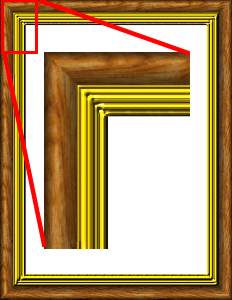 |
e. Apply a Plastic Texture effect at the default settings () (Fig 24) |
You should now have a Picture frame with an outer wooden frame and an inner bright gold metal frame.
Now it's time to import a favourite piece of artwork or photo to display in the frame.
3. Adding Your Artwork and the Matboard.
Add your artwork using Photo-Paint's Import command ().
 |
| Fig 25. |
It is probably best to use a Portrait oriented piece as our frame is in this orientation.
Resize the image using the Object Picker tool in Position and Size mode so that it only takes up about 1/4 of the total image size.
Align the image to the Centre of the document () (fig pframe-25)
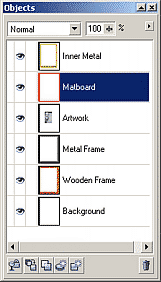
Create a new object and rename it "Matboard".
 |
| Fig 26. |
In the Objects Docker, reposition the level of the Inner Metal object so it is at the highest level, above the Matboard, which in turn is above the Artwork object. (Fig pframe-26)
Choose the Magic Wand Mask Tool from the Mask Tools flyout on the Toolbox.
Set the Mask Mode to Normal then click on the whitespace between the artwork and the Inner Metal border to create a mask with the size and shape of the whitespace area.
Expand the mask by 25 pixels (or in vers 11).
We will use this mask to fill the Matboard object with a nice paper bitmap fill.
With the Matboard object active, from the menu choose , select the Bitmap Fill type then click Edit on this dialogue box.
Click the Load button on the Bitmap Fill dialogue box and navigate to the Tiles\Paper folder of CD3# of your Corel Draw Suite CDs.
 |
| Fig 27. |
Preview the various tiles there and choose one you like.
I have chosen PAPER01M for this example.
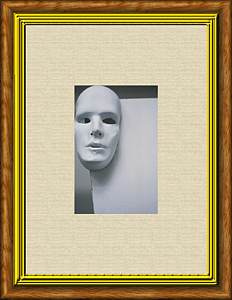
Click OK twice to fill the masked area of the Matboard object.
Remove the mask ( or CTRL+R) (Fig 27)
Now we need to add an embossed edge to the matboard to simulate thickness of the board.
Select the Artwork object and create a normal mode mask from it (CTRL+M)
Now select the Matboard object and apply an Emboss Effect to it ().
Change the Emboss settings to:
Depth = 10,
Level = 100,
Direction = 142,
Original Colour.
Press OK to apply the effect.
The next steps show you how to add an inner frame using the mask created from the Artwork object.
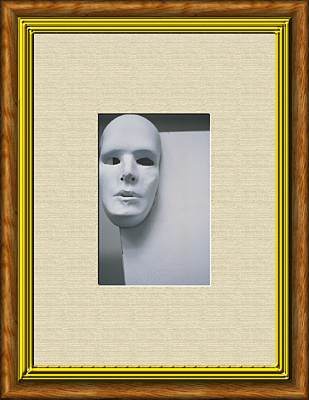
If you do not wish to create a further inner frame, simply remove mask and save the project. You're done (Fig 28).
 |
| Fig 28. |
4. Creating an inner frame.
With the Artwork mask still current,
create a new object () and rename it "Artwork Frame".
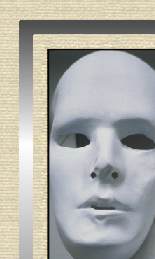 Expand
the Artwork mask by 20-30 pixels. ()
Create a border mask from the current mask (),
of 15-20 pixels in width with a hard edge.
If you find that Photo-Paint hasn't created a mask with a nice sharp
edge,
you can use at a
setting of 128 to sharpen (unfeather) its edges.
Fill the Artwork Frame object
with the Fountain Fill we saved as a Preset for the Metal frame,
with the angle of the fountain fill set to -90 degrees.
(Fig 29)
Add some Noise () at the default settings.
Add a Boss Effect to the Artwork Frame object () at the following settings:
(Edge Tab)
Width = 8
Height = 45
Smoothness = 0
Drop Off = Flat
Invert = ON(Lighting Tab)
Brightness = 90
Sharpness = 10
Direction = 114
Angle = 45
Then press OK.
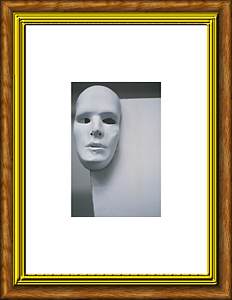
Here is the final image: (Fig 30)
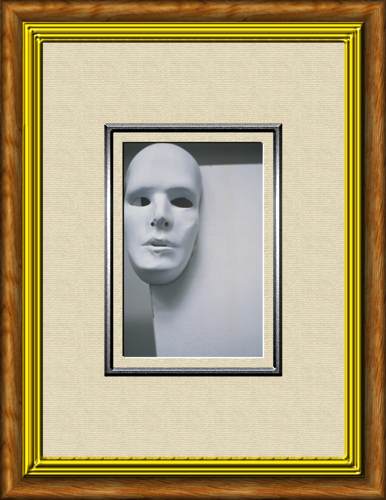 |
| Fig 30. |
Further suggestions:
- Add the mask of repeated shapes to the inner edge of the outermost frame, using a metallic (gold) fill instead of wood to make a classic ornamental picture frame.
- Picture frames don't have to be rectangular - try making some groovy odd shaped frames.
- Use the Plastic texture effect to make great contemporary plastic frames.
This concludes the Picture Frame Tutorial and the entire Fun With Photos #2 Series of Tutorials.
Good luck in making your own borders, frames and picture frames.
| Fun With Photos #2 | |||||||||
| Intro | Simple Borders | Frame Effects | Multi Photo | Picture Frames | |||||
| Series Intro | Polaroids | Intro, Single Frame, background object | Multi frame, background object | Frames with floating objects | Create your own Frame | Photo Displays | Basic Picture Frame | Enhanced Picture Frame | |
| « Prev | || | || | Next » |
| - More Tutorials - | - Contact Me - | |
| - Copyright © 2003 David Mutch & Visionary Voyager Corporation P/L - |