Corel Down Under - Tutorial 2
Introduction

|
click on this icon to view the finished logo at any time |
Hello and welcome to the second of my Corel PHOTO-PAINT Tutorials. If you have already read the first one concerning the History List Feature, thanks, and I hope you enjoyed it.
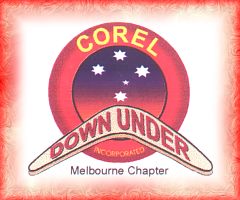
Did you notice the introductory screen ? This is our project today.
At the Corel Down Under User Group here in Melbourne, Australia we have been planning a Web site for the group. I have been looking into various designs for a new web-friendly (or rather screen-friendly) logo.

Not that the old one is all that bad (see on right), pretty good I think, but it was created in Corel Draw and I just know that creating it in PHOTO-PAINT could also yield some great results.
The current logo of the Corel Down Under User Group, Melbourne, Australia.
Thus, in this tutorial I will demonstrate some of the steps I used to create a new tryout logo (not yet approved) for the proposed web site. We will be using many features of PHOTO-PAINT including layers, masks, paths, fills, merge modes, brushes, stroking masks, and some weird mesh warp effects.
This tutorial is quite lengthy. If necessary, you can save the work at any stage and then come back to it when ready. I hope you enjoy it and send me some feedback or suggestions. If you know of better ways to achieve the same result for any step, also please send me a line. I will try to answer all comments personally. Thanks.

OK, Lets go!
