| Introduction Duotone - The Basics Duotone - Advanced Direct from RGB - HSL - Colour Balance - Selective Color - Color Hue & Tone Using Masks Conclusion |
|
|
|
Using Masks Masks provide an excellent way to isolate portions of an image. Once isolated, the mask is used either to direct an alteration to a specific area, or to protect the area from an otherwise global alteration. The use of masks in combination with many of the tools we have been discussing here brings real power to your graphics armory. Photo-Paint has some of the best masking tools in the business - but that is another story entirely. For the current exercise we will use a fairly simple mask to isolate a portion of an image and then apply colour changes either within or outside the mask. The methods described here are commonly used to create grayscale images containing specific, brightly coloured objects, to name but just one possible use. In reality, once you set masks in motion (especially when combined with layers) there are almost unlimited possibilities for creative expression in digital imagery. But of course, you know all this already, so lets get started ! |
|||||||||||
|
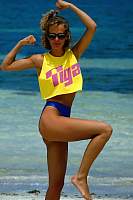
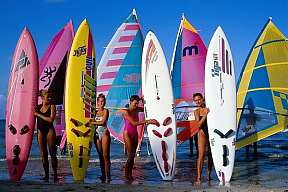
For this final exercise I have selected an image from Draw 8 disk 3, image 834001.wi in the Photos/Active folder. This image was resampled to a width of 600 pixels and sharpened slightly with the Unsharp Mask. If you need a copy of the
resampled, slightly sharpened image you can get it HERE
or click on the picture.
|
|||||||||||
|
Making the Mask I created a mask around the yellow surf board using the following tools in this order:
- Mask > Load from Disk to load it into your image.
Your image should look like this one:
- Mask > Marquee Visible The mask can be used as is to focus changes TO the yellow board. Or it can be inverted to protect the board FROM changes. The mask can also be used
on a copy of the original image object or even on another object if it
has a similar shape. |
|||||||||||
|
Lets try some simple colour alterations using some of the tools we used earlier. Here I want to change the background to grayscale (desaturate) and leave the surfboard in full colour. In order to operate on a section of the image other than the surfboard, we need to INVERT the current mask. - Mask > Invert or click the Invert Mask icon on the Tool bar
Now remove all the colour from the inverted mask area - Image > Adjust > Desaturate. Now everything except the yellow
surfboard appears to be in grayscale. |
|||||||||||
|
Lets take it a bit further. Lets Paint it Red !
- Edit > Undo Special > Restore to Checkpoint (PP8) or Your image should look like the red one above.
|
|||||||||||
|
Alternatively you can create an old sepia looking image using the following settings in the Colour Balance Dialogue: CR40, MG0, YB-70, M H |
|||||||||||
|
To make the surf board really stand out all we need to do is to invert the mask again and apply additional colour adjustments to the board itself. -
Restore to the checkpoint again if you need to and If you cannot see which is selected or not, turn ON the Mask Marquee -
Mask > Marquee Visible (or click the Mask Marquee Visible icon on the
Tool bar) - Image > Transform > Invert. Now the surf board will appear blue as shown here |
|||||||||||
|
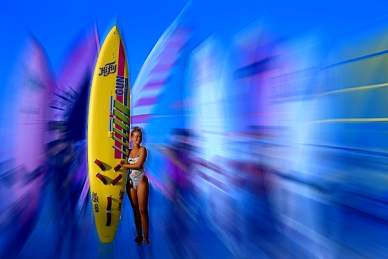
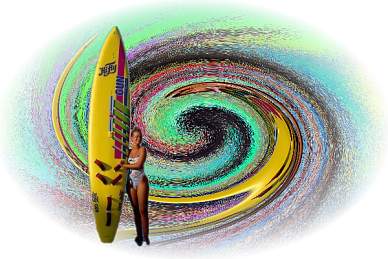
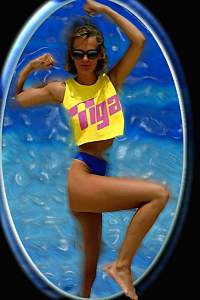
Adding Effects Using masks and colour transformations plus other effects lets you create some quite stunning images. Try to recreate some of these (hints are provided):
|
|||||||||||
|
|
|||||||||||
 |
 |
 |
||||
| Copyright
©, 1999. David Mutch Ph.D. and Visionary Voyager Corporation. All rights reserved. |
||||||
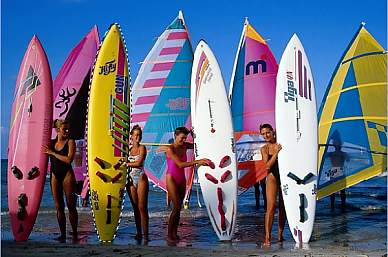 Once
the mask is loaded create a checkpoint so that you can return to this
stage.
Once
the mask is loaded create a checkpoint so that you can return to this
stage. 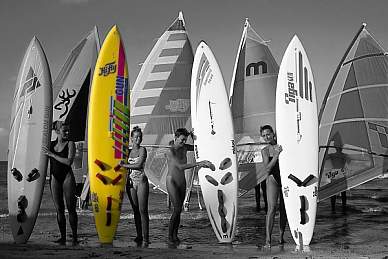 Desaturated
Background
Desaturated
Background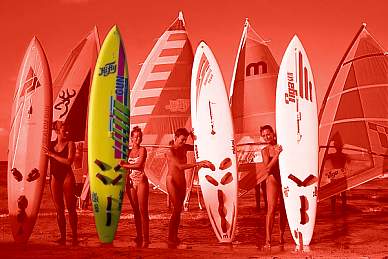 Paint
it Red!
Paint
it Red!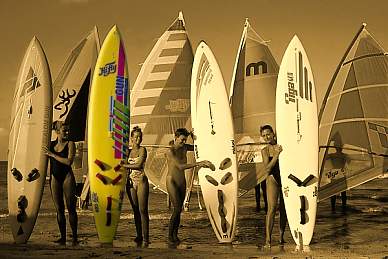 Paint
it Sepia !
Paint
it Sepia !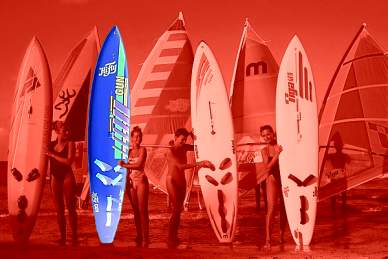 Blue
Hawaii at the Moulin Rouge
Blue
Hawaii at the Moulin Rouge