|
 |
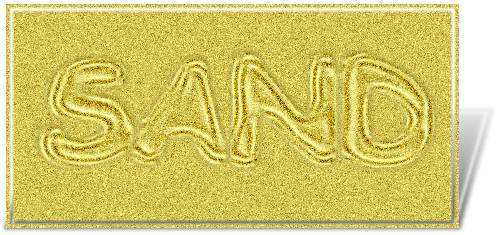
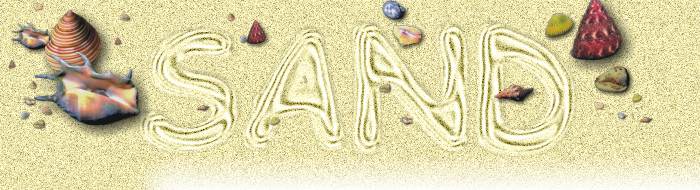
SAND
Text Effect for Corel Photo-Paint Here is a way you can create a 'writing in the sand' effect using Corel Photo-Paint. Although this tutorial has been written mainly for Photo-Paint versions 9 and higher, the effect can still be created easily using Photo-Paint version 8 using the alternate commands shown in relevant steps. Steps: 1.
Create a new image:
2.
Change the Paint colour to R219, G200, B107.
3.
Select the Text Tool and type the word “SAND” to create a
new text object. Align the
object to the centre of the image
4.
With the text object selected, create a mask from it.
5.
Expand the mask by 4 pixels
6.
Save the mask as a channel for later use
7.
With the text object still selected,
8.
Add a Wind Effect
9.
Apply a Gaussian Blur
10.
Convert the image to Grayscale mode If not, combine
all objects with the background (Object > Combine > All
Objects with Background or CTRL+SHIFT+Down,
or It is important
to have just a single background grayscale image or else the next step
will not work correctly.
11.
Apply a Tone Curve If you have trouble creating such a curve you can download a zipped version of it HERE and load it into the Tone Curve dialogue. NOTE:
download the tone curve, unzip it, then place it in your ../Corel/GraphicsX/Custom/Tonecrve
folder
12.
Apply an Emboss Effect
13.
Change the mode of the image back to RGB
14.
The mask around the text should still be present. If load then load it
CUT the selection
( 15.
Select the top SAND object in the Objects Docker,
16.
Fill the object with the Paint colour
17.
Add Noise to the top SAND Object 18.
Turn off Lock Object Transparency
19.
Select the Background object and repeat steps 16 and 17, filling the background
with the sand colour and adding Noise. 20.
Select the top SAND object and change the Merge Mode to Hard Light using
the drop down list in the Object Docker.
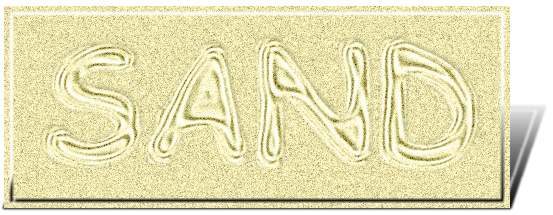
NOTES & Variations: 1. The method described here is quite dependent on the actual colour of the sand used. Changing the colour requires a few slight changes to make the effect appear as that descibed using the darker colour. For instance, here in Australia most of our beaches have much lighter coloured sand, much more like that in the title graphics and side panel. Here are the changes to several steps that I used to create the sand at the lighter colour: In Step 2, change the Paint colour to R237, G228, B171. In Step 20, still change the Merge Mode to Hard light, but also adjust the opacity to 72. Add a new step, step 21: Select the lower duplicate of the SAND text object and change it's merge mode to Hard Light also. This will now give you the correct effect you see for the lighter coloured sand.
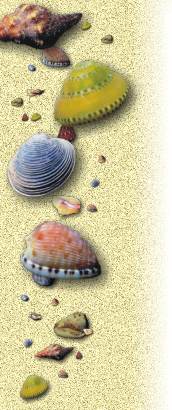
2. Try changing the Noise type and see how it affects the consistency of the sand. 3. Play around with the Tone Curve to get more or fewer lines. 4. The shells used in the side and top panels of this tutorial were created using the Image Sprayer tool and a Shells image list. The list is one of many available on Corel's www.designer.com web site, specifically at: http://www.designer.com/files/list.asp?c=8. But if you can't find it there yo can get it here.
|
|||||||||||||||||||||||||||||||||||||||||||||||||||||||||||||||||||