Fun With Photos #3
Noise Reduction Techniques.
using Corel Photo-Paint
... continued from Noise - Introduction
(Refer back to Part 1 of this tutorial if you need to).
This section of the Noise reduction tutorial shows you several different ways you can reduce noise in digital images using Corel Photo-Paint.
As always, my tutorials attempt to teach you a little more about using Corel Photo-Paint as well as the actual techniques used in a method. Below you will find five methods to reduce noise using Photo-Paint. The first three teach different Photo-Paint techniques and are only partially successful in reducing noise. They are also provided so comparisons in technique effectiveness can be demonstrated. If you are already an experienced Photo-Paint user you may wish to jump straight to methods 4 and 5 below to see the BEST methods to reduce noise.
Sample Images
If you really can't find a noisy image of your own...
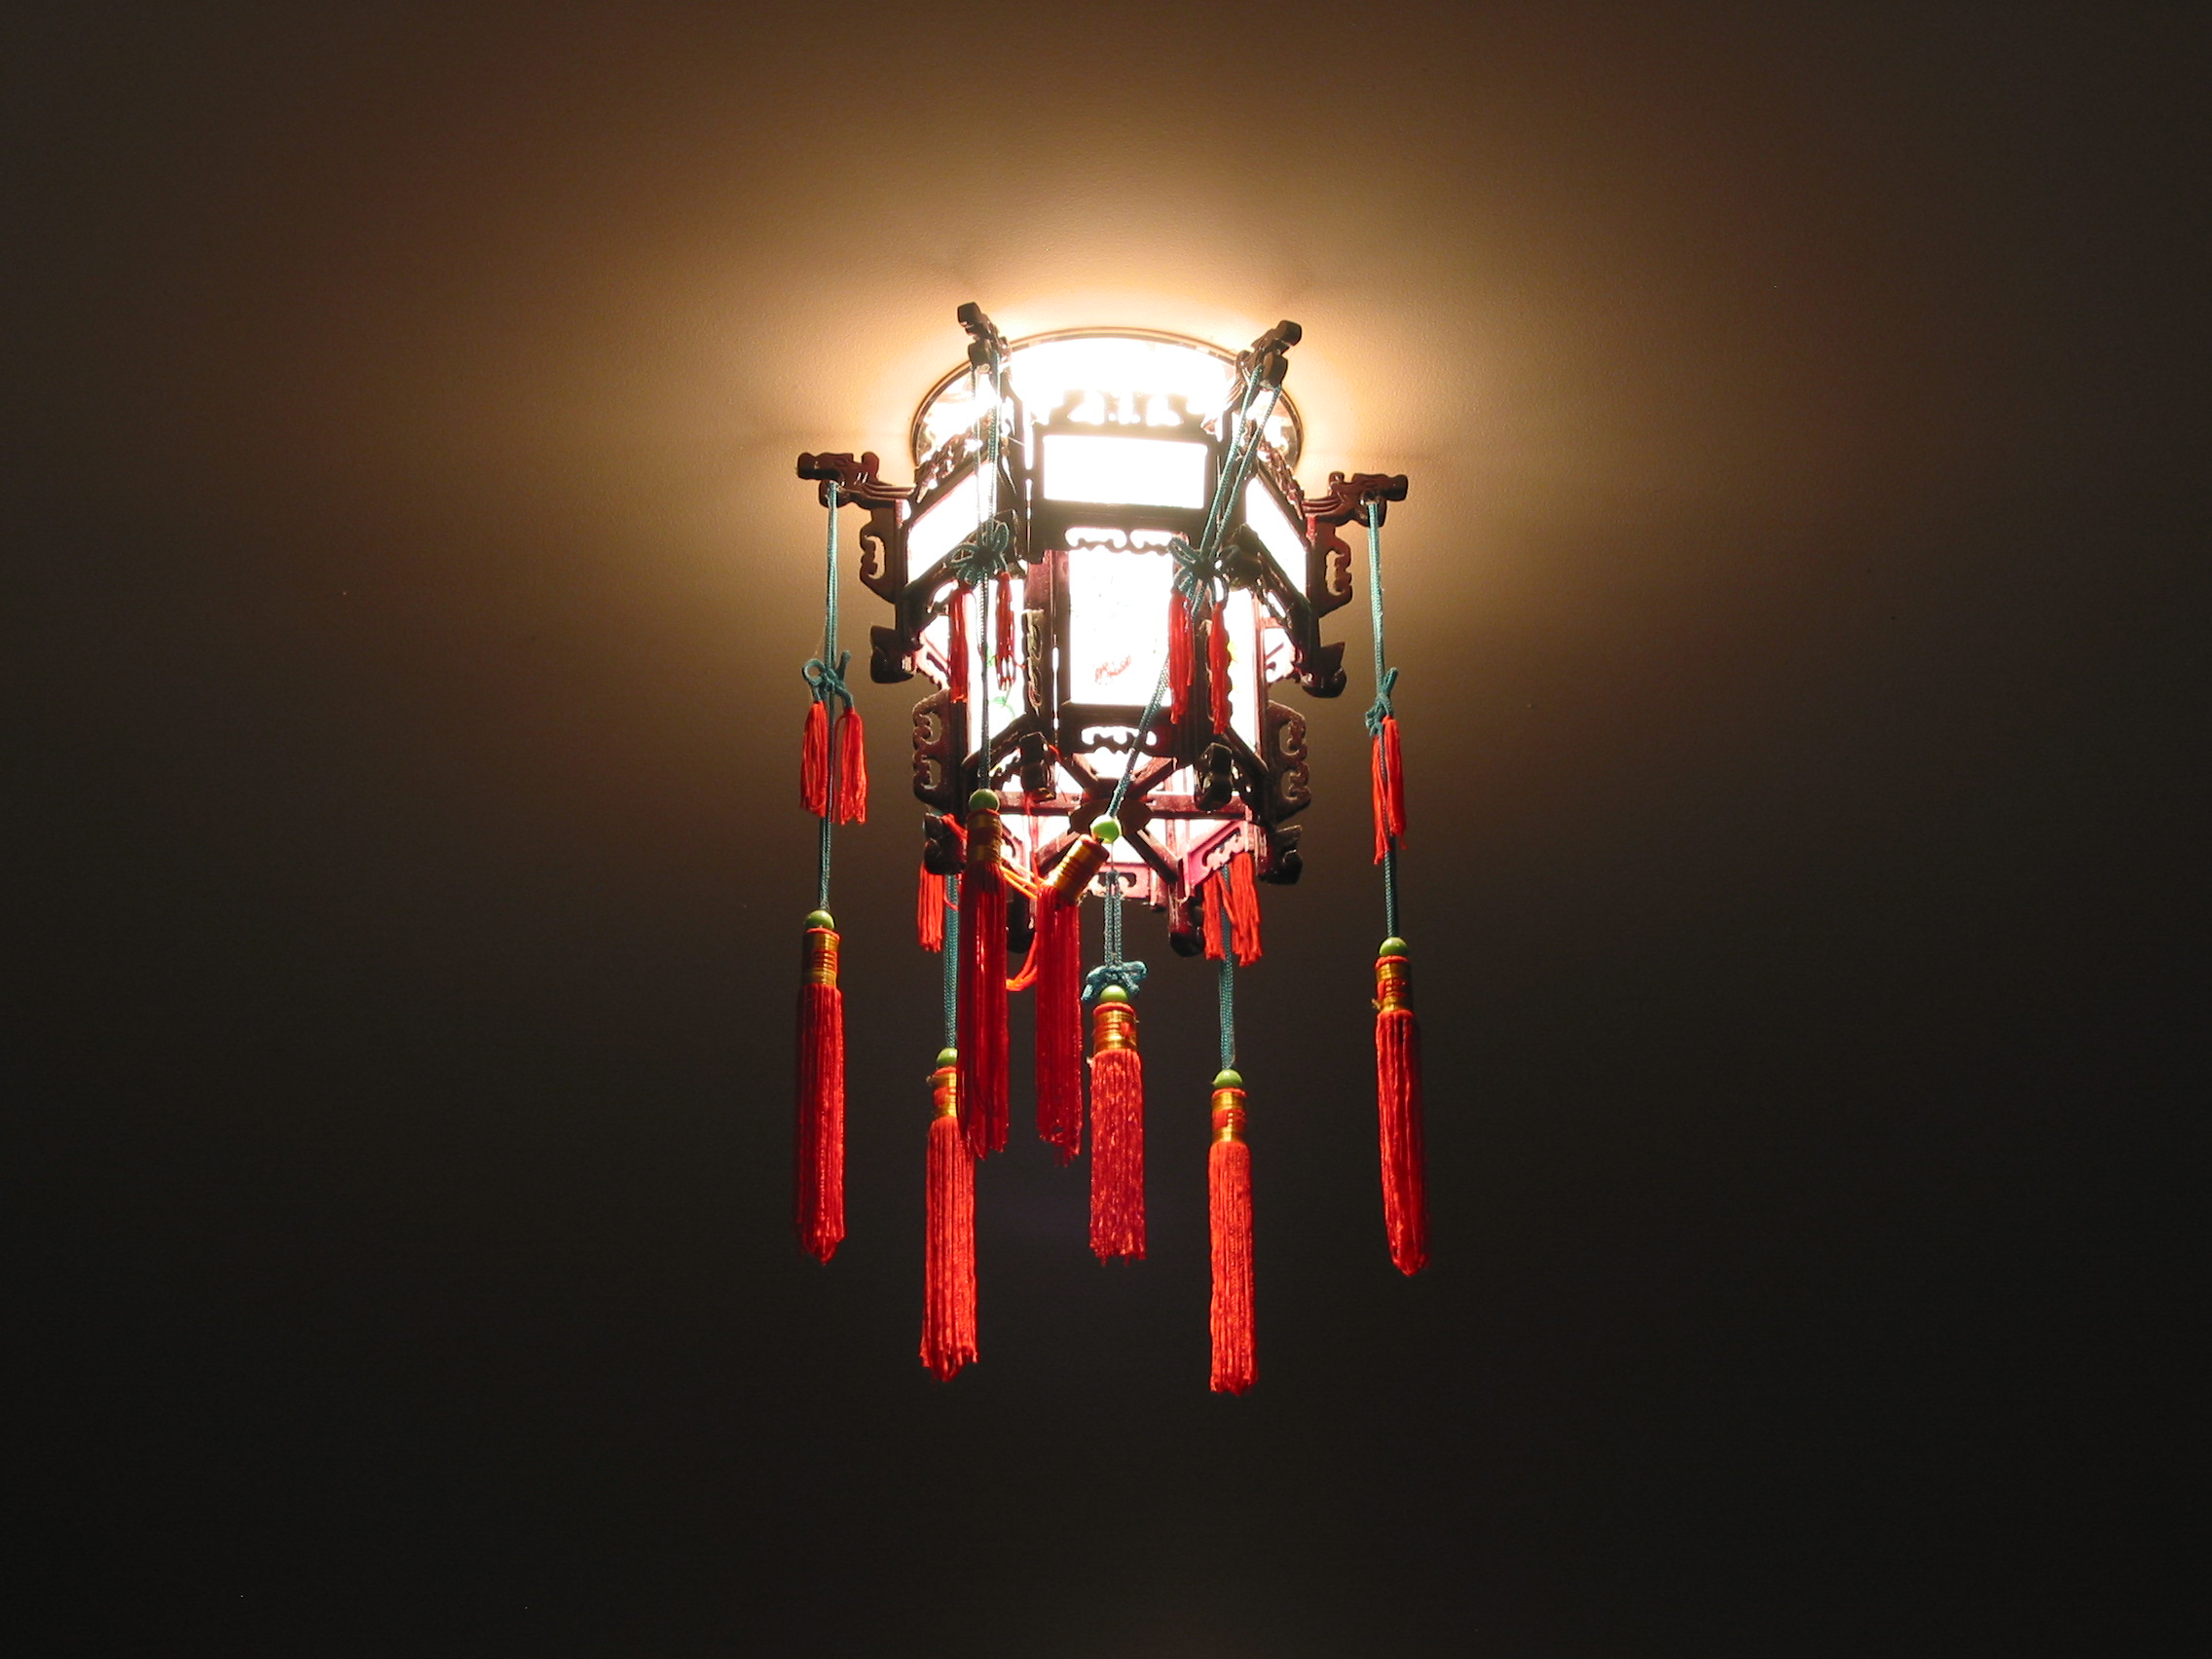
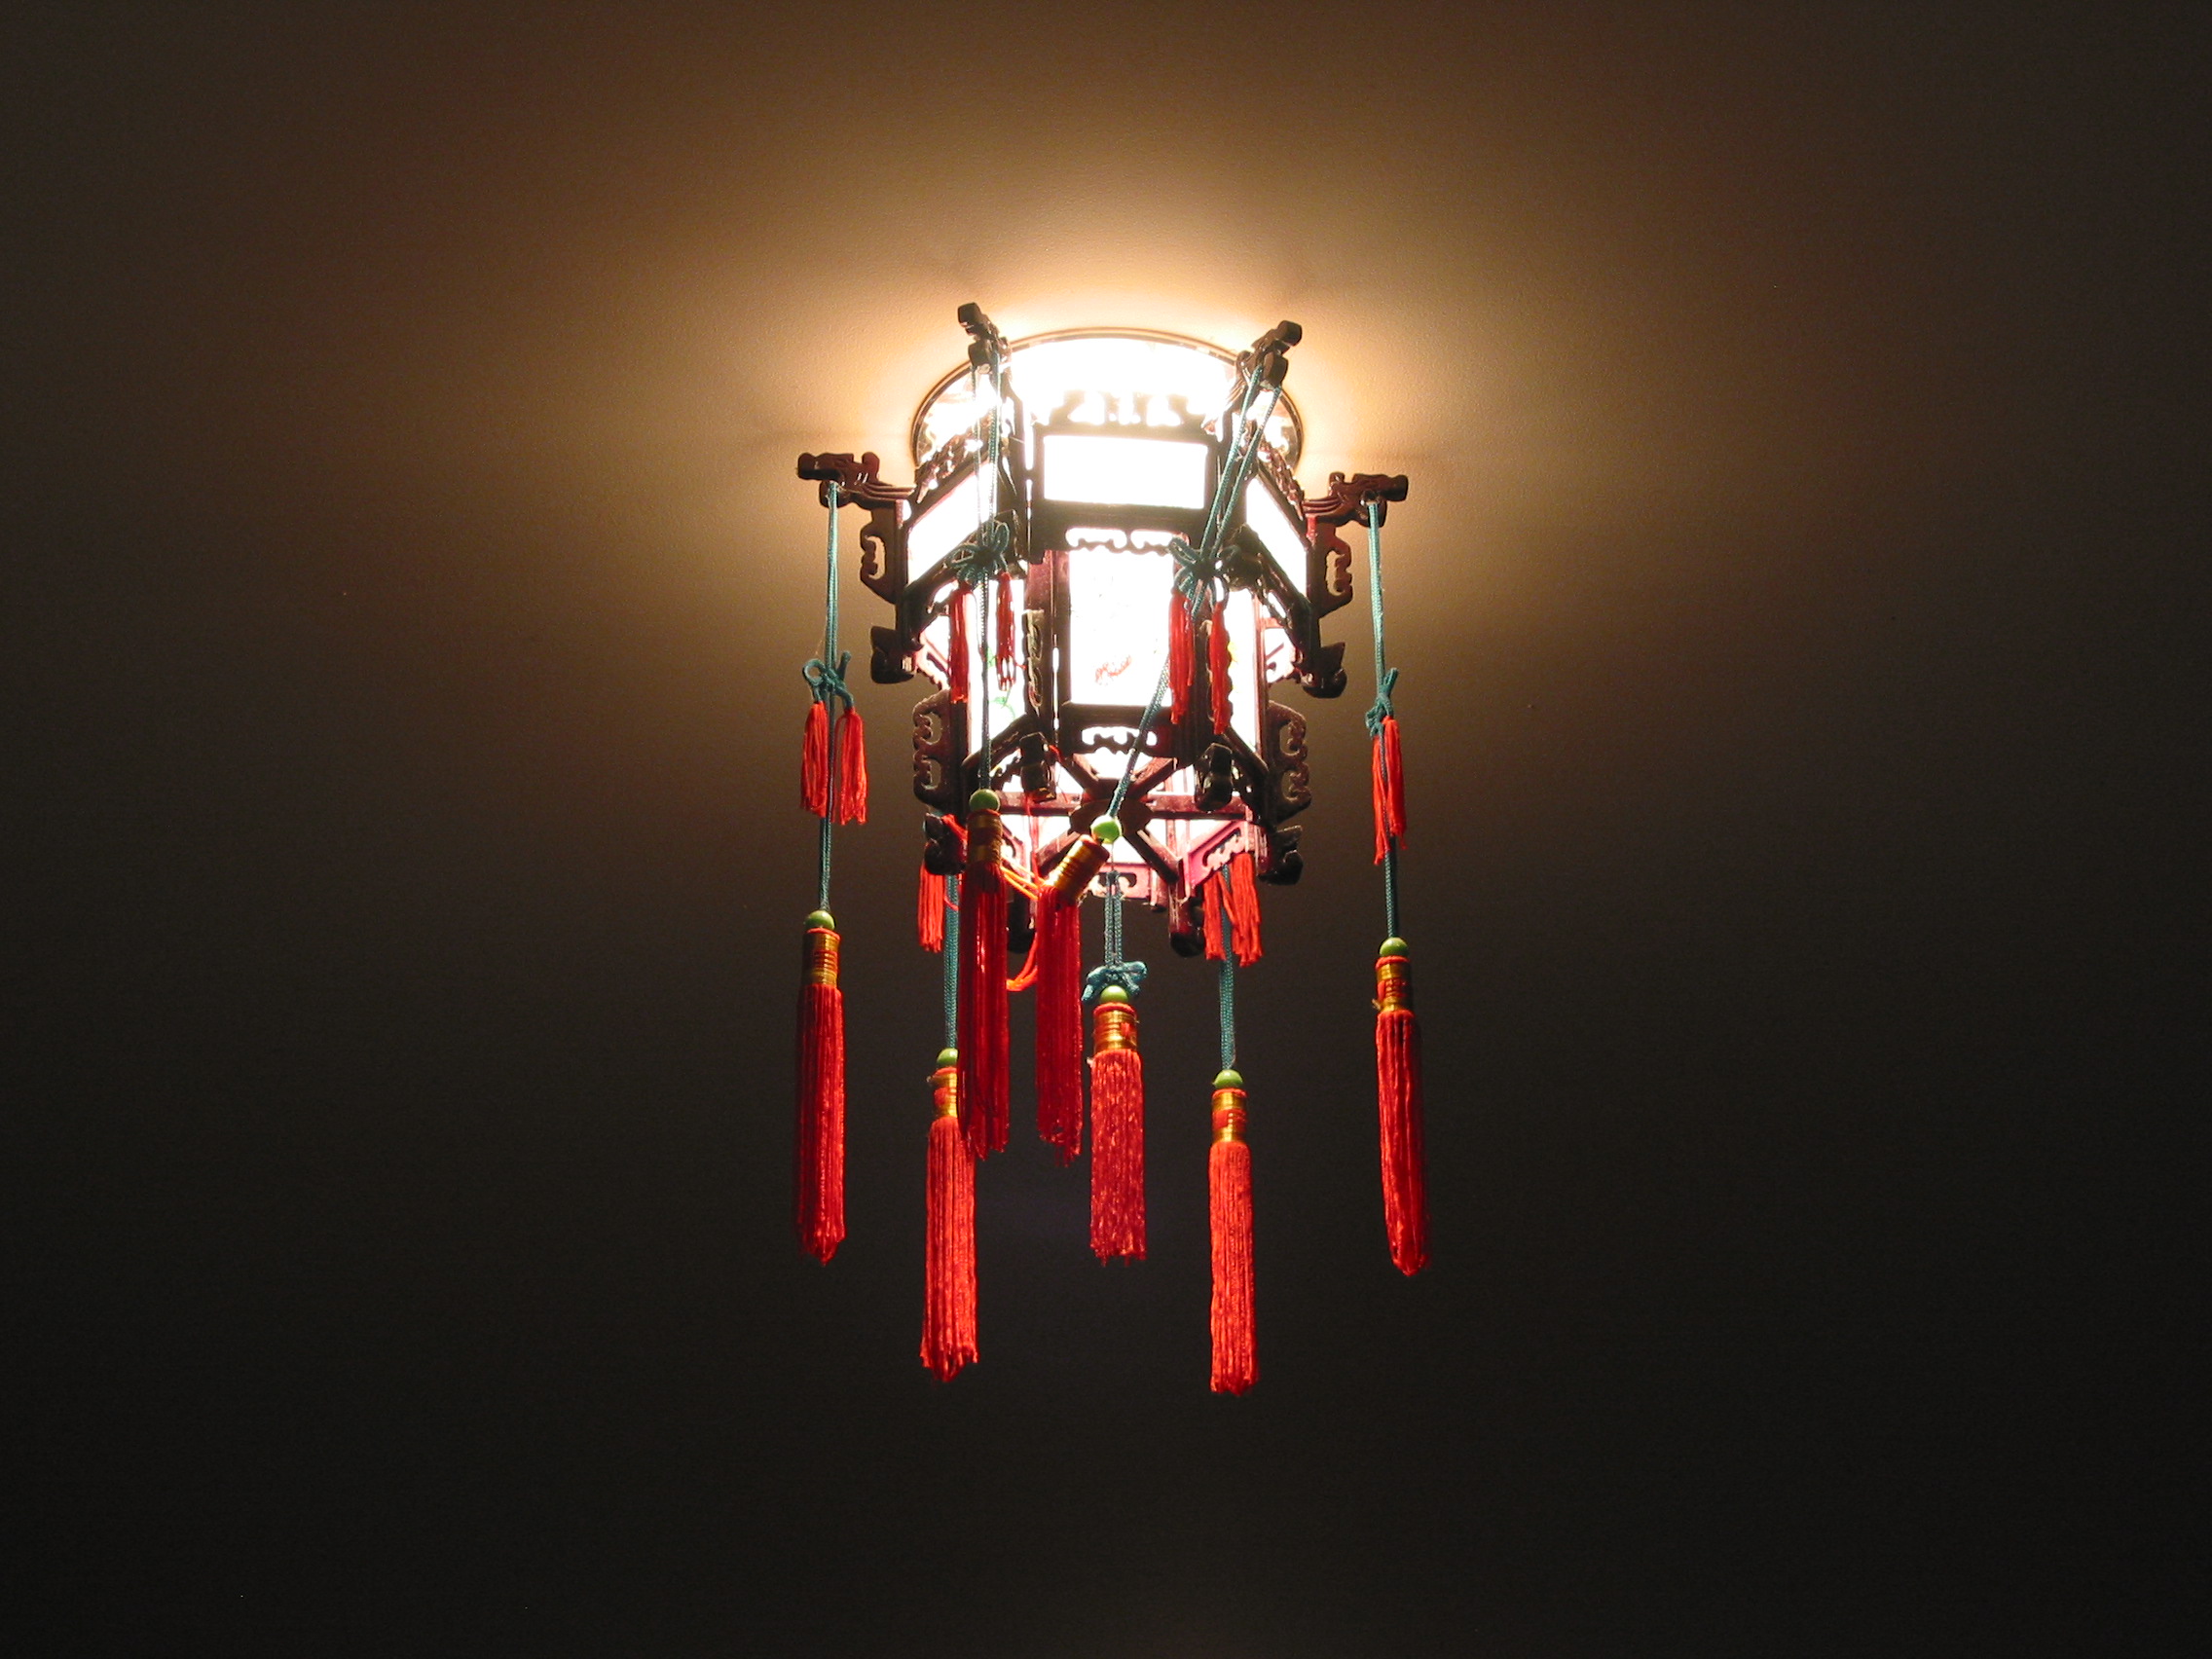
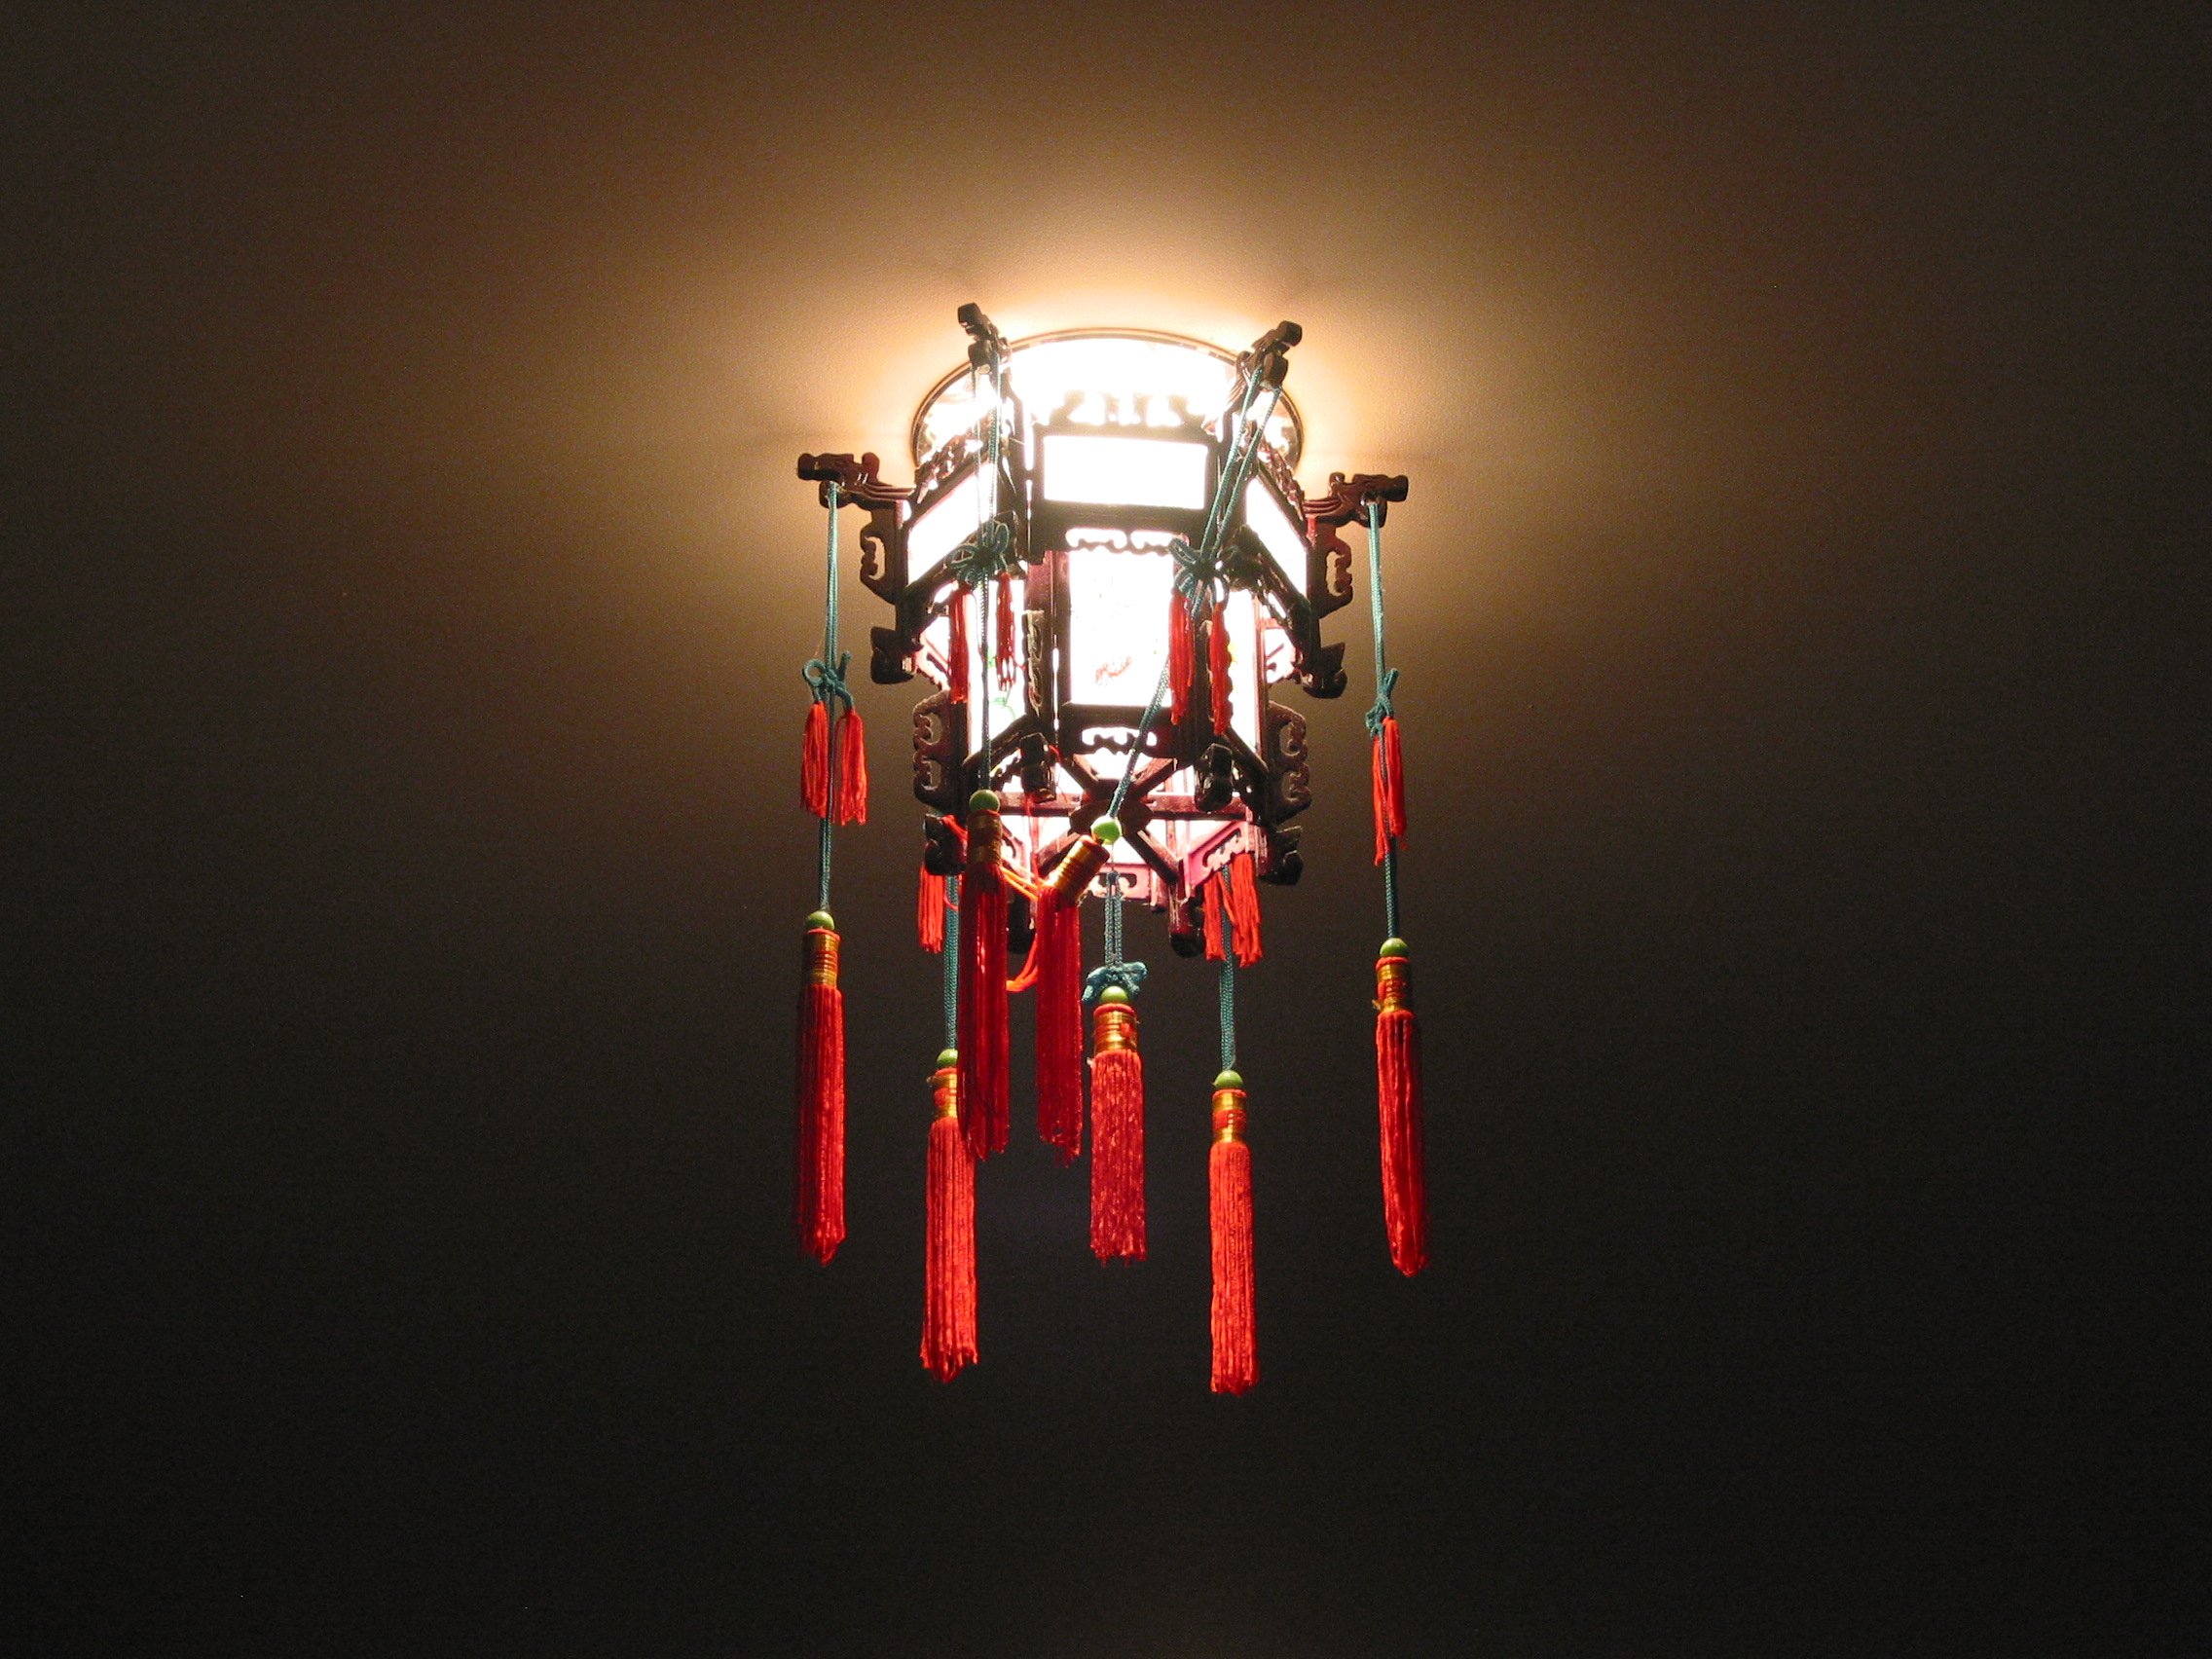
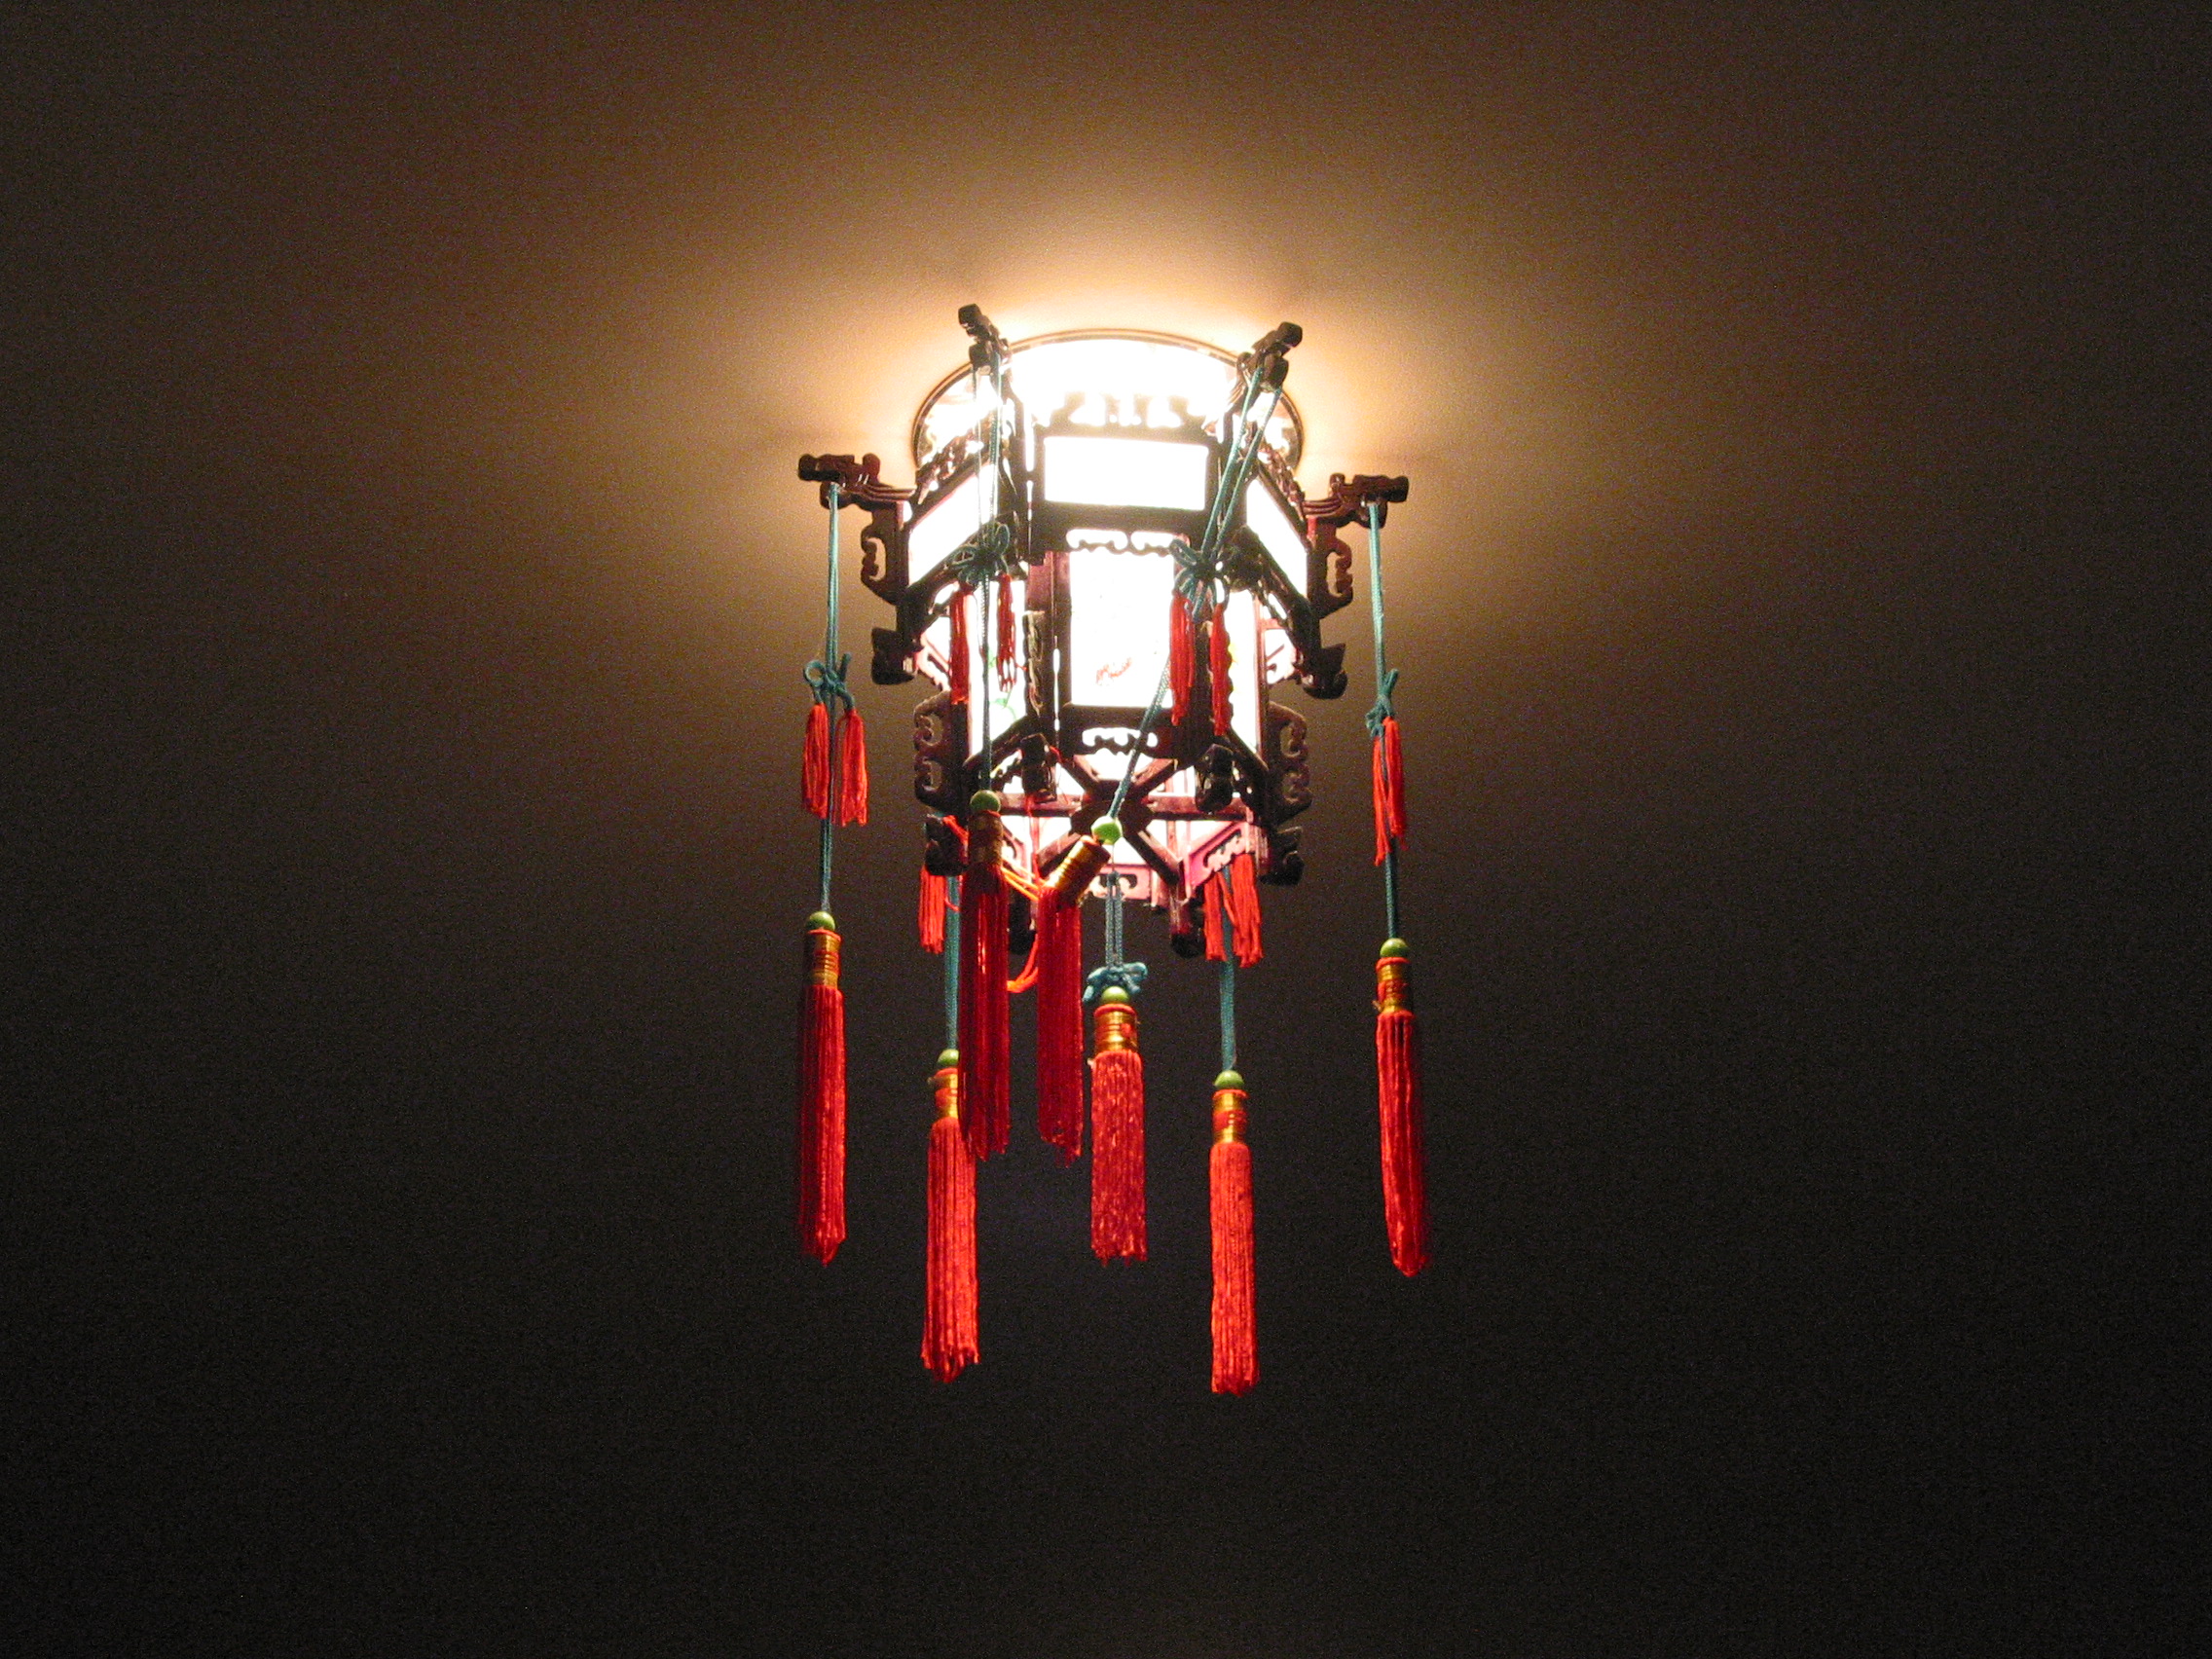
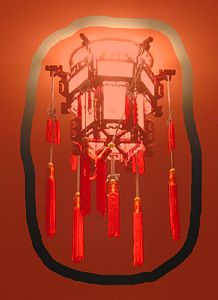
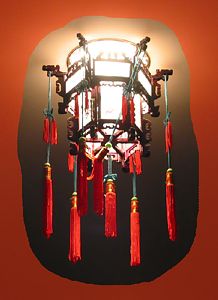
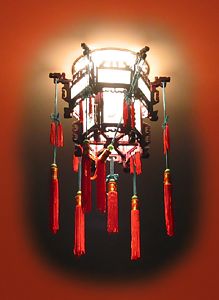
Figures 1 to 4 (sample iso50, iso100, iso200 and iso400 images) can be clicked to download the originals which you can use for the remainder of this tutorial.
(Note: These are LARGE: 2272x1704 pixels, ~ 1 MB, each).
The sample images were taken at 50, 100, 200 and 400 ISO settings with my consumer-level Canon S40 digital camera. A small section of the image is magnified at 200% of the original to show the increasing level of noise at increasing ISO settings.
Fig 4 was taken at the highest ISO setting and is by far the noisiest. However all of the images are provided as samples you can use and compare as the ISO setting used is increased.
Load the image into Photo-Paint and set the zoom level to 100% or even 200% so you can see the noise reduction effects in this tutorial.
Methods to Reduce Noise While Shooting
Methods you can use while shooting to reduce digital image noise include saving the images in your camera’s RAW format rather than JPEG format and to use a low ISO setting when possible (100-200 ISO). However, these methods are not always available or appropriate and so the noise must be removed from the image after it has been shot.
In Corel Photo-Paint there are a number of different techniques you can use to reduce or remove digital image noise. The use of any particular technique would depend on the severity of the noise within your image.
Photo-Paint Noise Reduction Methods:
The first three methods shown here demonstrate some of Photo-Paint's built-in noise reduction tools. These work well enough with average images, but none are very effective when working with really noisy images. For super noisy images like Fig 4 above, try methods 4 and 5 below.
Also below is a method to help you resharpen your image once you have reduced the noise.
- Method #1: Remove Noise Effect
- Method #2: Smooth, Soften and Jaggy Despeckle Blurs
- Method #3: Smart Blur
- Method #4: Smart Blur Applied to a Selected RGB Channel
- Method #5: Smart Blur Applied to L Channel in LAB Mode
- Post Noise Reduction: Selective Sharpening
Noise Correction Method # 1: The Remove Noise Effect.
The Remove Noise effect is located under the ![]() . You can also use the Remove Noise section of the Tune Noise dialogue (Effects > Noise > Tune Noise
. You can also use the Remove Noise section of the Tune Noise dialogue (Effects > Noise > Tune Noise ![]() ). This effect is good at removing some specific types of noise but not so good with other types.
). This effect is good at removing some specific types of noise but not so good with other types.
In the Remove Noise dialogue, try the ‘Auto’ setting first (check the Auto checkbox) and observe the result on both the iso 50 and iso 400 images. The effect on the very noisy iso 400 image is negligible, but it does smooth out the iso 50 image a little.
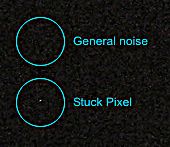
The Remove Noise effect works best on very high contrast noise, such as stuck pixel noise. Fortunately for you (but not for me as it demonstrates a flaw in my camera) there are some instances of stuck pixel noise in my sample images.
To see these stuck pixels make sure you have the Info Docker displayed (CTRL+F1), then pan down to image coordinates X=248, Y=1641 or X=1823, Y=294 where there are some stuck pixels.
These appear in BOTH the ISO 50 and 400 images, but are more obvious in the low ISO image because there is much less of the more random high ISO noise. (Fig 5).
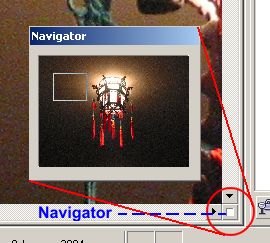
TIP: Use the Navigator to pan to the lower left corner for the first coordinate (Fig 6).
Undo the previous Remove noise effect and reapply it (use (last effect) ![]() or CTRL+F on either image (especially the iso 50 image) and keep a close eye on the stuck pixels. The stuck pixels are removed very effectively but the general noise is still pretty bad in the iso 400 image.
or CTRL+F on either image (especially the iso 50 image) and keep a close eye on the stuck pixels. The stuck pixels are removed very effectively but the general noise is still pretty bad in the iso 400 image.
To see how Remove Noise works, uncheck the ‘Auto’ checkbox and adjust the Threshold slider, which now becomes available for use. More noise is removed at lower Threshold settings.
Noise Correction Method # 2: Smooth, Soften and Jaggy Despeckle Blurs.
The Smooth, Soften and Jaggy Despeckle blur effects are all found under the menu.
They are all mild forms of blur and can be used to remove mild noise distortion without adversely affecting image detail. (Fig 7)
- Smooth
 mutes the differences between adjacent pixels to smooth an image without losing detail. It is especially useful for removing the dithering that is created when you convert an image from the paletted mode to the RGB mode.
- Soften
 smooths and tones down the harsh edges in an image without losing important image detail. The difference between the Smooth and Soften effects is subtle but is often apparent when images are viewed at high resolution. Soften is less pronounced than Smooth.
- Jaggy despeckle
 scatters the colours in an image, creating a soft, blurred effect with minimal distortion. It is most effective for removing the jagged edges that can appear in line art or high-contrast images.
Try each one out on both the iso 50 and iso 400 images undoing changes after each one. Make sure you examine the effect on the image detail as well, plus the ability of these fine blurs to remove the stuck pixels.
These methods are moderately effective in removing mild levels of noise but none are very effective in reducing the noise in the iso 400 example.
Possibly it is the Jaggy Despeckle blur effect that reduces the image noise most effectively but it also blurs image detail the most at its higher settings.
Noise Correction Method #3: Smart Blur.
The Smart Blur effect was introduced in Photo-Paint 9 and is a very remarkable tool. Smart Blur blurs an image but retains edge detail. This is very useful if you want to retain sharp lines and edges, but wish to blur regions of lower contrast.
Smart Blur is also located in the menu, at the bottom ![]() (see Fig 7).
(see Fig 7).
Restore the original iso400 image (use undo or restore or reload the image), pan to a noisy section (e.g. the top left corner) then open the smart blur dialogue.
Start with a very low setting (2) and increase gradually noting the changes in both the noisy regions and in the detailed areas we which to maintain (like the lampshade itself). You should find that around about a setting of 10, we see a marked reduction in noise but the image detail is generally maintained.
This filter is ideal for heavy noise reduction.
However, and this is quite interesting, the Smart Blur Effect does not remove the stuck pixels very well. Pan down to the area we looked at previously with the stuck pixels).
The solution therefore is to use Reduce Noise to remove the stuck pixels and then Smart Blur to remove the bulk noise. This will effectively remove almost all of the noise and still maintain good image detail.
On the iso 50 image the result is especially good with a really clean, smooth background area.
Noise Correction Method #4: Smart Blur applied to a single RGB Channel.
As mentioned above, it is often the case that one channel in particular is more affected by noise than the others. Return the images to their original state before proceeding and display a noisy region of the iso 400 image.
Open the Channels Docker if it isn’t already open. ( or CTRL+F9)
These are RGB images and so the three separate Red, Green and Blue channels are shown plus the combined RGB channel.
Click on the separate colour channel thumbnails or names. The image display changes to show the actual channel information within the image. Note also that the visibility ‘eyes’ ![]() in the channel docker also change from open to shut
in the channel docker also change from open to shut ![]() as you select different channels. (Fig 8).
as you select different channels. (Fig 8).
When a single channel is selected you can still use almost all of Photo-Paint’s tools and menu commands, but now they are applied to the single selected channel rather than all the channels combined. Use the Navigator to look around the image.
Examine the image at 100 or 200% zoom in the region to the left of the lantern.
Which channel contains the most noise?
Even though the Blue channel is often the one with the most noise, in this particular image the Green channel is the noisiest. This may be due to the particular camera used or the camera settings when the picture was taken, but it demonstrates that you should always check each channel rather than simply assume that the Blue channel will be the one with the most noise.
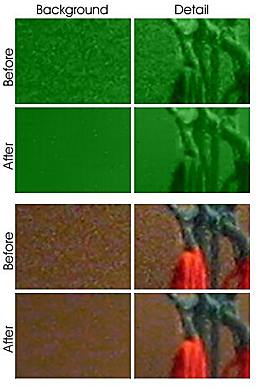
With the Green channel selected, apply a Smart Blur with the Amount set to 20. Notice that the noise in the background has been smoothed very efficiently while the lantern itself is still relatively sharp.
Select the composite RGB channel and look at the result now.
By using the Smart Blur on just one channel only, much of the image detail has been preserved while the noise has been markedly reduced. (Fig 9)
Undo the steps and apply the Smart Blur to the Blue channel then observe the result in the composite RGB image - the noise reduction is not nearly as good as when using the Green channel for this image.
Note that when blurring just a single channel we can use a higher level of blur than we could if we blurred all of the channels together.
Noise Correction Method #5: Smart Blur applied to the Lightness Channel in Lab mode.
This method is similar to that used in method 4 except that we will first convert our image into the Lab colour Mode rather than use RGB. Lab is a colour model that contains a luminance (or lightness) component channel (L) and two chromatic component channels: "a" (green to red) and "b" (blue to yellow).
The L channel contains the main contrast information for the image and noise can be considered to be a form of contrast interference. Therefore our noise reduction technique using Lab colour mode will be targeted to the L channel.
Restore the image to the original, the change the image’s colour mode to Lab : ![]() .
.
Display the Channels Docker and click though the composite (Lab Channels) channel, the Lightness channel, the a Channel and the and b Channel to confirm for yourself that the noise is most apparent in the Lightness channel.
Select the Lightness Channel. The channel thumbnail will have a red border when it is the active channel.
Apply a Smart Blur with an Amount of 25. () (Fig 10)
Zoom into the background area of the image - almost all of the noise is now gone with only a few of the more higher contrasting (stuck) pixels remaining (to see these view the image coordinates above). For these we can use the Remove Noise effect we discussed in Method #1 above.
Apply an step to the lightness channel. Now all the noise is almost completely gone.
Select the composite channel and observe that the image detail is still largely preserved.
If you require your image to be in RGB mode, just change it back using ![]() .
.
Noise Correction Fix: Final Step - Selective Sharpening.
Our noise reduction techniques, no matter how good, will always cause some loss of detail in the image as they all rely on some form of blurring. Sometimes, for some images, no further processing I required. But for others, a small amount of sharpening to selected areas will improve the image’s appearance. We do not wish to sharpen the background that previously contained all that noise, we just wish to sharpen some specific areas of detail - in this case the lantern.
We isolate the areas we want to sharpen using a mask. So that we don’t get an obvious transition between sharpened and unsharpened areas, we need to feather the edges of the mask quite a lot.
Masking is a whole complex area in itself, and the mask will be different with every image. So for this tutorial I will show you how we would create our feathered mask for the iso400 lantern image we have just corrected for noise distortion.
Open the noise-corrected iso400 lantern image and use a ‘To Fit’ zoom level from the Zoom drop down list on the Standard Toolbar.
Select the Mask Brush tool ![]() from the Mask Tools Flyout and set the Mode as Normal, the Nib Size at 50, transparency=0, AA=on, feather=0.
from the Mask Tools Flyout and set the Mode as Normal, the Nib Size at 50, transparency=0, AA=on, feather=0.
Make sure the Mask Overlay is visible (Mask > Mask Overlay or ![]() ) is checked).
) is checked).
Draw a smooth surround about 10-20 pixels around the outside of the lantern (Fig 11).
Then Fill in the mask using ![]() (Fig 12)
(Fig 12)
Feather the mask at 80 pixels outside ( ![]() , width=80, direction = outside), then repeat the feather at 100 pixels, direction = average. (Fig 13)
, width=80, direction = outside), then repeat the feather at 100 pixels, direction = average. (Fig 13)
Zoom in using the Zoom Tool ![]() to see the edges of the Lantern at 100%.
to see the edges of the Lantern at 100%.
Apply a Unsharp Mask Sharpen effect ( ![]() ), using Percentage = 150, Radius = 2, Threshold = 0
), using Percentage = 150, Radius = 2, Threshold = 0
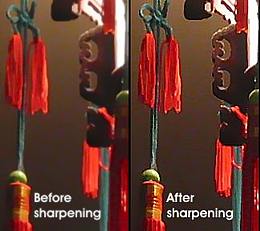
The result is shown in Fig 14 (partial image).
Remove the mask ( ![]() or CTRL+R), then pan around the image to observe the result. Note how the central lantern has now been slightly sharpened while the noise corrected background is still nice and smooth without any noise.
or CTRL+R), then pan around the image to observe the result. Note how the central lantern has now been slightly sharpened while the noise corrected background is still nice and smooth without any noise.
Try out the effects on some of your own images. You may even like to do as I did - deliberately take some noise images at a higher than required iso setting to practice the method.
This ends this tutorial on Noise reduction.
April, 2005.