

|
|
|
|
| Introduction | ||||
| Charcoal | ||||
| Conté Crayon | ||||
| Crayon | ||||
| Cubist | ||||
| Dabble | ||||
| Impressionist | ||||
| Palette Knife | ||||
| Pastels | ||||
| Pen and Ink | ||||
| Pointillist | ||||
| Scraperboard | ||||
| Sketch Pad | ||||
| Watercolour | ||||
| Water Marker | ||||
| Wave Paper | ||||
15. Wave Paper.
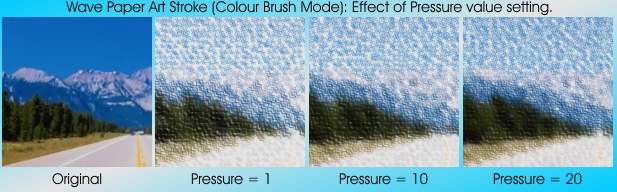
The Wave Paper Art Stroke makes an image look like a painting created on textured, wave paper. You can create a black-and-white painting, or you can preserve the original colour of the image.
Its like drawing or rubbing on a rough, corrugated surface where only the ridges will show the painted colour. The Wave Paper effect is a little better than most for use with finely detailed images as the size of the weave/corrugations selected by Corel is fairly small. The result often turns out like a noisy, blurred rendition of the original. If you wish to use the black and white Brush Colour Mode of this effect it is best to choose a lighter image as it can become too dark when normally lit images are used.
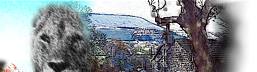
1. Select and open an image, For the example here I have used image 866048.WI from the Photos/Travel folder of Corel Draw Suite 9. (Fig 1)
2. Open the Wave Paper dialogue box (Effects > Art Strokes > Wave Paper). There are only two simple controls for this effect: Colour Brush Mode and Pressure. Both are straightforward in their use. (Fig 2)

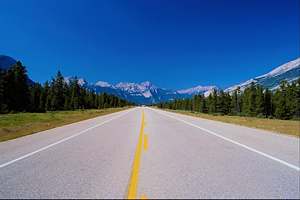
3. Press the Reset button on the dialogue box to observe the result at the default settings. The image appears to have been blurred and lighter areas of the image show white flecks while the darker areas have a distinct canvas-like quality. (Fig 3).
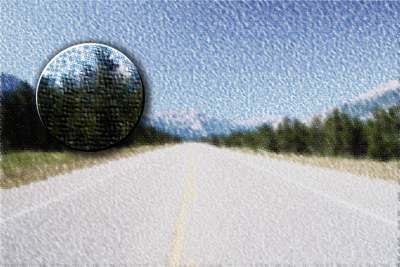
4. Change the Brush Colour Mode from Colour to Black and White. Apart from all the colour disappearing, the image takes on a darker tone than is initially expected. That's why I have suggested to use VERY light coloured originals before switching to the Black and White mode of this effect. However, this can be corrected using other PHOTO-PAINT adjustments such as BCI, Contrast Enhancement etc. (Fig 4)
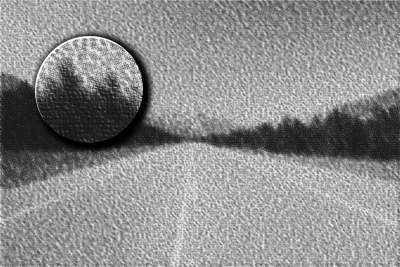
5. The Brush Pressure parameter simulates using harder pressure when rubbing colour into the wave paper. Thus at higher settings, less of each corrugation is seen, giving the image a darker appearance, especially if the Black and White mode is selected. (Fig 5).
6. Here are some further example of using the Wave Paper art stroke:
 |
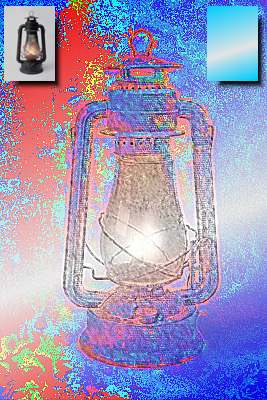 |
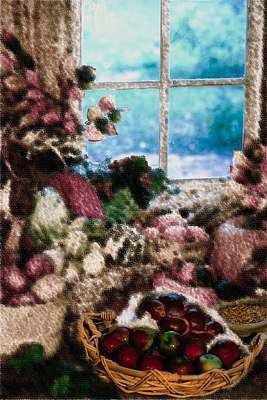
| Fig 6. Duplicate the image twice. Apply a Black and white waverpaper effect to the top duplicate (3rd object) and a colour waver paper effect to the first duplicate (2nd object). Erase away sections of both to reveal different parts of the underlying objects. | Fig 7. Apply a wavepaper effect to the original image. Create a new layer and fill it with a diagonal cyan-white-cyan fountain fill (see insert). Change the merge mode of the filled object to Saturation. |
| « Prev | || | || | Next » |
| - More Tutorials - | - Contact Me - | |
| - Copyright © 2003 David Mutch & Visionary Voyager Corporation P/L - |